Cache
Manage built-in caching and performance controls in HiAnime
Cache Tab
The Cache tab provides HiAnime's built-in caching controls. Use this to clear cached data whenever you make significant changes to the theme settings, content, or after license activation.
Go to OtakuThemes > Cache to access these settings.
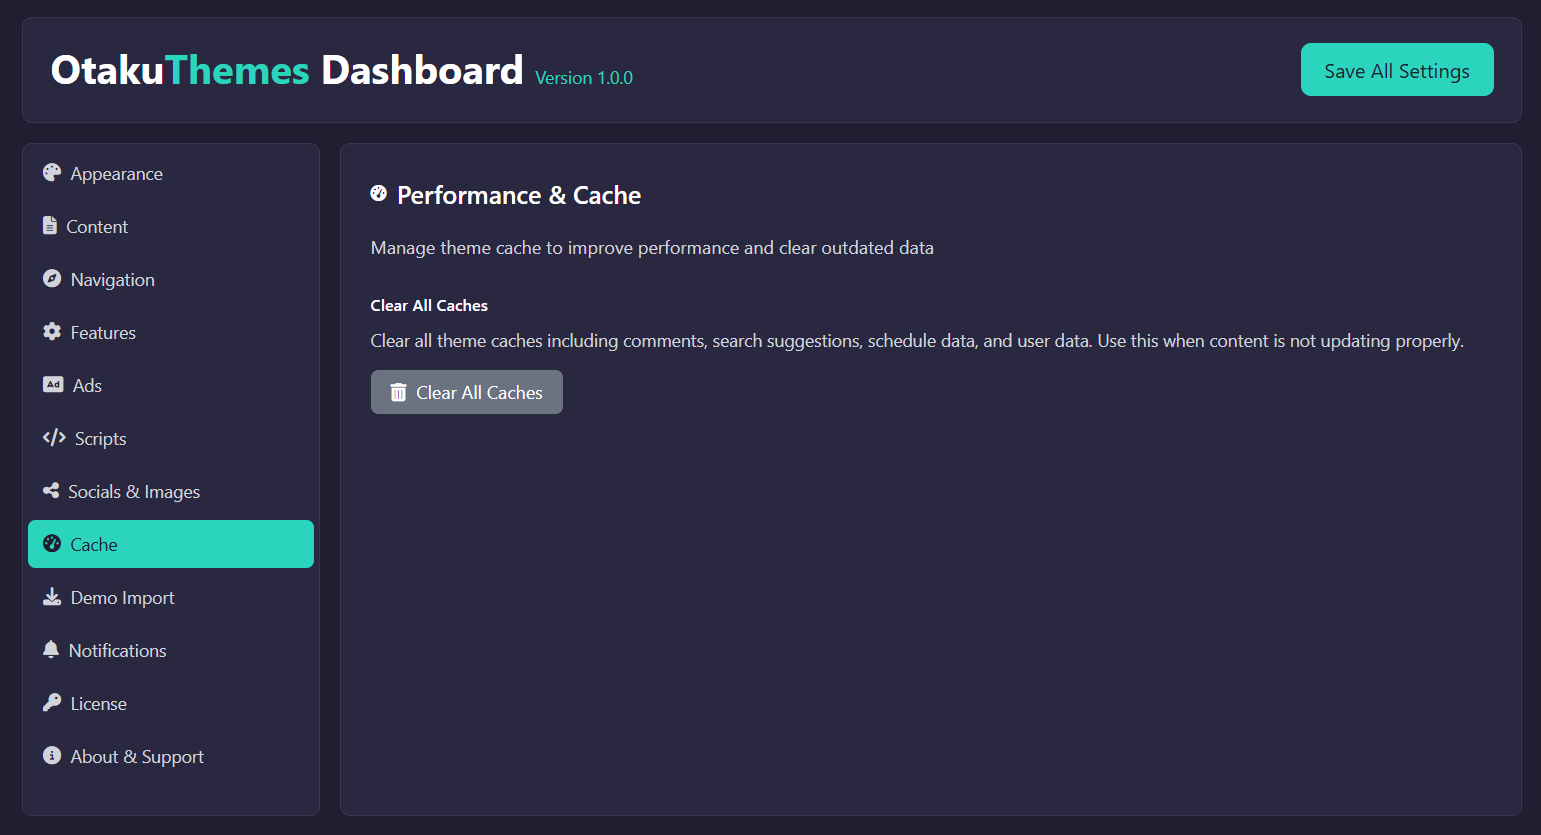 OtakuThemes Dashboard — Cache Tab
When to Clear Cache
You should clear the cache after:
- Making changes to any OtakuThemes Dashboard setting
- Activating or deactivating your license
- Importing demo content
- Adding, editing, or deleting anime/episodes in bulk
- Changing navigation or menu settings
- Updating the theme to a new version
How to Clear Cache
- Go to
OtakuThemes > Cache - Click the Clear Cache button (or the relevant button for the cache type)
- Wait for the confirmation message
The built-in cache tool clears the theme's server-side cache. If you still see old content after clearing, also clear your browser cache (Ctrl+Shift+Delete / Cmd+Shift+Delete) and any caching plugin cache (e.g. WP Fastest Cache, W3 Total Cache, LiteSpeed Cache).
Cache & License Activation
If your license doesn't show as active after activating it in the member area, clearing the cache is usually the fix:
- Go to
OtakuThemes > Cache - Click Clear Cache
- Reload the
OtakuThemes > Licensepage
If you're using Cloudflare or server-level caching (e.g. LiteSpeed, Nginx FastCGI), you may also need to purge the cache from those services. The theme cache tool only clears WordPress-level cache.
Cloudflare Cache Rules
If your site is behind Cloudflare, configure dedicated Cache Rules for each HiAnime REST API endpoint so they are cached at the edge with the correct TTL. This keeps origin load low and delivers fast responses globally.
Full setup instructions and all eight cache rule expressions are documented in the Performance tab guide.